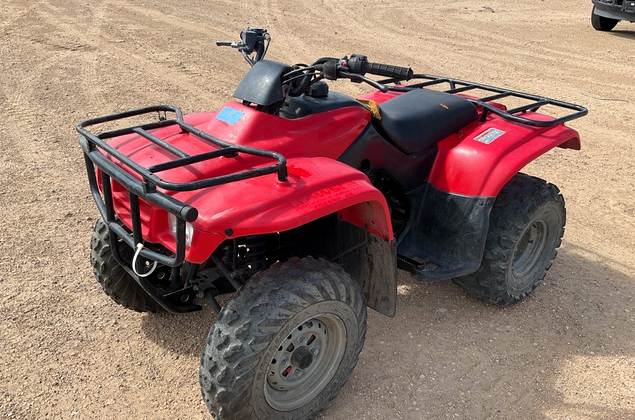
Why you should install a radiator relocation kit on your Honda ATV?


Are you an enthusiastic off-road rider eager to elevate your Honda ATV's performance? If so, you understand the vital role of engine cooling in maintaining peak functionality, particularly when navigating rugged terrains. One transformative upgrade worth considering is the installation of a radiator relocation kit. We'll explore why this modification is essential for serious ATV enthusiasts and provide detailed instructions for a seamless installation process.
Radiator relocation kits offer a host of benefits, from preventing overheating by moving the radiator away from mud and debris to enhancing cooling efficiency and simplifying maintenance tasks. These kits are crafted from durable materials like CNC-cut steel. This ensures longevity and protection for your investment.
Additionally, the rugged, customized appearance achieved by relocating the radiator adds aesthetic appeal to your ATV, setting it apart on the trails. By following our step-by-step instructions, you can effortlessly install the kit and unlock the full potential of your Honda ATV. So, Are you ready to take your off-road adventures to the next level? Investing in a radiator relocation kit is the way to go. And here's why you must not hold on to it.
One of the primary benefits of installing a radiator relocation kit on your Honda ATV is its ability to prevent overheating. By moving the radiator to a higher position, you keep it away from mud and debris that can clog it during rides. This ensures optimal engine temperature regulation. This not only enhances the longevity of your ATV's engine but also minimizes the risk of breakdowns and costly repairs.
Efficient cooling is essential for maintaining peak performance, especially during intense off-road rides. A radiator relocation kit significantly improves airflow to the radiator, allowing for more efficient cooling of the engine. This ensures that your ATV operates at optimal temperatures, even in the most demanding conditions, maximizing performance and reliability.
Gone are the days of struggling to access and clean your ATV's radiator buried deep within the chassis. Thanks to the relocation kit, the radiator is positioned higher, making maintenance tasks such as cleaning and inspections a breeze. This not only saves you time and effort but also encourages regular upkeep, prolonging the lifespan of your ATV's cooling system.
Investing in a high-quality radiator relocation kit pays dividends in terms of durability and longevity. These kits are typically crafted from premium materials such as CNC-cut steel and are powder-coated for added protection against the elements. By shielding your radiator from impacts and debris, the kit ensures that your investment is safeguarded. This allows you to tackle rugged terrain with confidence.
Beyond the practical advantages, a relocated radiator can significantly enhance the aesthetic appeal of your Honda ATV. The rugged and customized look achieved by this modification sets your ATV apart from the crowd. It also reflects your commitment to performance and functionality. Whether you're tearing up the trails or showcasing your ATV at events, the added visual appeal is sure to turn heads.

Now that you're convinced of the benefits of installing a radiator relocate kit, let's walk through the installation process step by step:
Before you begin, ensure you have all the necessary tools and materials on hand. This typically includes wrenches, sockets, screwdrivers, and the radiator relocate kit itself.
Start by safely elevating your ATV to provide ample space for working underneath. Disconnect the battery to prevent any electrical mishaps during the installation process.
Carefully remove the stock radiator from its original position and take note of any mounting brackets or hardware that may need to be reused.
Follow the manufacturer's instructions to install the radiator relocate kit onto your Honda ATV. This typically involves mounting the relocation brackets and securing the radiator in its new position.
Once the kit is securely installed, reconnect any hoses, cables, or electrical connections that were disconnected earlier. Double-check all connections to ensure a proper fit.
Before hitting the trails, fill the radiator with coolant and start the engine to check for any leaks or abnormalities. Address any issues promptly to prevent potential damage to your ATV.
With the radiator relocation kit successfully installed, it's time to hit the trails and experience your Honda ATV's enhanced performance and durability. Remember to regularly inspect and maintain your cooling system to keep it running smoothly for years to come.
Installing a radiator relocate kit on your Honda ATV is a game-changer for any off-road enthusiast seeking improved performance, durability, and aesthetic appeal. By preventing overheating, enhancing cooling efficiency, and simplifying maintenance tasks, this modification allows you to push the limits with confidence. Follow our step-by-step installation guide, and soon, you'll be enjoying the full benefits of your upgraded ATV on the trails. So why wait? Elevate your off-road experience today with a radiator relocation kit for your Honda ATV.
Item added to your wish List
Item added to your Compare List